The Civic Standard SITREP

  • The Slide Hammer Effect: Why Your Accessories are Creeping Forward

    You torqued the cross-bolts to 30 inch-pounds. You applied the blue Loctite. You marked the screws with a paint pen. Yet, after three magazines of rapid fire or a weekend in the dirt, you notice your flashlight has a slight wiggle, or your bipod has “walked” a millimeter toward the muzzle.

    You aren’t dealing with bad hardware. You’re dealing with physics. Specifically, you’re a victim of Recoil Walk and the Slide Hammer Effect.

    Inertia vs. Recoil

    To understand why gear moves, you have to look at what happens in the millisecond the primer ignites. When you break the shot, the rifle moves violently backward into your shoulder. According to Newton’s First Law, the accessory mounted to your rail (your light, bipod, or optic) wants to stay exactly where it is.

    Relative to the rifle, the accessory “slams” forward. It doesn’t matter how much friction your mount has; inertia is a powerful force. If there is even a microscopic amount of “runway” for that accessory to move, it will take it.

    The Gap Problem

    The 1913 Picatinny specification is a universal standard, but “universal” often means “loose.” To ensure that a mount from Company A fits a rail from Company B, manufacturers almost always machine their mounting lugs slightly narrower than the rail slots.

    If you center the lug in the slot and tighten it down, you’ve left a tiny gap in front of the lug. Every time you fire, that gap acts as a runway. The accessory becomes a slide hammer, slamming into the forward wall of the Picatinny slot with every cycle. Over time, this repeated hammering does two things: it stretches your mounting screws (causing them to “loosen”) and it peens the aluminum of your rail.

    The Solution: Forward Bias

    The fix is one of those “armorer’s secrets” that is incredibly simple but rarely practiced. It’s called Forward-Biasing.

    Before you ever reach for the torque wrench, seat the accessory onto the rail. Before tightening the screws, physically push the accessory as far toward the muzzle as it will go. By doing this, you are manually indexing the recoil lug against the forward wall of the Picatinny slot. You are eliminating the “runway.” When the rifle recoils, the lug is already in contact with the rail, meaning the energy is transferred directly into the mount rather than allowing the mount to gain momentum and “hammer” the hardware.

    Evidence of Failure: Forensic Inspection

    If you suspect your gear has been walking, it’s time for a “bench-vetted” inspection. Pull the accessory off and look at the rail slots.

    • Shiny Edges: Look for the black anodizing being worn away on the forward face of the rail slots.
    • Peening: If the aluminum looks “mushed” or deformed at the edges of the slot, your accessory has been jackhammering the rail.
    • Screw “Silvering”: Check the cross-bolts. If the threads look flattened or shiny on one side, the mount has been shifting under tension.

    The Bench-Vetted Bottom Line

    Friction is a suggestion; mechanical indexing is a law. Tightening a screw provides friction, but forward-biasing provides zero-retention.

    Next time you’re mounting a bipod or a light, don’t just “clamp it and go.” Push it forward, seat the lug, and then torque it. It’s the difference between gear that stays indexed and gear that’s just along for the ride.

  • The M-LOK Ghost: Why 2mm of Clearance is Killing Your Groups

    You’ve spent the money on a match-grade barrel, a crisp trigger, and quality glass. You’ve torqued everything to spec. But at the range, your sub-MOA dreams are being haunted by unexplained flyers and groups that open up the moment the rifle gets hot.

    The culprit isn’t your barrel, and it isn’t your ammo. It’s the M-LOK Ghost—a hardware clearance issue so small it’s almost invisible, but so significant it can turn a precision rifle into a 4-MOA frustration.


    The Harmonic Interruption

    A barrel is not a static rod of steel; it is a tuning fork. When a round is fired, the barrel vibrates in a specific sine-wave pattern known as harmonics. For a rifle to be accurate, that “whip” must be consistent for every single shot.

    If an M-LOK screw for your bipod, light mount, or grip is sitting within 1–2mm of the barrel, you’ve created a mechanical interference. As the barrel whips, it “slaps” the tip of that screw. This microscopic impact disrupts the harmonic wave mid-cycle, sending the projectile out of the muzzle at a slightly different angle every time. The result? Eratic flyers that you can’t blame on the wind.

    The Thermal Expansion Trap

    The reason this issue is so hard to diagnose is that it’s often intermittent.

    On a cold bench, you might be able to slide a piece of paper between the screw and the barrel. You think you’re clear. But after ten rounds of rapid fire, physics takes over. Steel expands as it heats up. Simultaneously, when you “load” your bipod, the handguard deflects upward slightly.

    That 1mm of “safe” air disappears. Suddenly, a rifle that was tack-driving for the first three shots starts throwing rounds wide as the barrel expansion makes constant contact with the hardware.

    The Gas Block Conflict

    The most dangerous zone for the M-LOK Ghost is directly under your gas block. Because the gas block is significantly wider than the barrel profile, it leaves almost zero room for error inside a slim handguard.

    Standard M-LOK screws are typically 1/2″ or 5/8″ long. In most modern, low-profile rails, a 5/8″ screw is almost guaranteed to bottom out against the gas block. If you are mounting a rail section or a direct-attach bipod directly under the block, you are likely resting your entire mounting system against the very component that needs to remain “free-floated” the most.

    The Danger of “False Torque”

    This is where shooters get misled by their tools. You set your torque wrench to 30 in-lbs and tighten the screw until it clicks. It feels rock solid.

    It’s a lie.

    If the screw is too long, the tip will hit the barrel or gas block before the T-nut fully cams over and clamps against the interior of the rail. You aren’t torquing the accessory to the rail; you are torquing the screw into your barrel. The accessory feels tight because it’s jammed, but under recoil, the vibrations will cause that “tight” screw to mar your barrel and eventually work the accessory loose.


    The Bench-Vetted Fix

    Don’t trust the click of a torque wrench. Reliability is earned through inspection.

    1. The Light Test: Shine a high-lumen light through the front of your handguard. Look for any hardware that appears to be “kissing” the barrel or gas block.
    2. The “Live Load” Check: With your bipod mounted, have a peer try to slide a business card between the barrel and your M-LOK screws while you are physically loading the bipod. If the card snags, the screw is too long.
    3. Trim the Fat: If you find a screw that’s too close, don’t just “leave it.” Pull the screw and use a hand file or a Dremel to take 2–3 threads off the end. You want at least 1/8″ (approx. 3mm) of air between your hardware and your barrel at all times.

    Bottom Line: Accuracy is the result of eliminating variables. If your hardware is touching your barrel, you’ve introduced a variable you can’t control. Clear the ghost, trim your screws, and get your groups back.

  • Tuning for Tension: Why We Hand-Adjust Every Integrated Grip

    The Discovery at the Bench

    When the first batch of our Integrated Vertical Grips arrived at the Civic Standard shop in El Paso, they passed the visual inspection with flying colors. The polymer was dense, the rail attachments were solid, and the deployment was lightning-fast.

    But as an infantry veteran, “looks good” isn’t the standard. Reliability is. During our initial shock-testing (what we call the “Thump Test”), we identified a mechanical edge case. Under specific high-vibration scenarios—like heavy recoil or a hard drop—the factory-standard spring tension wasn’t quite enough to keep the internal latch seated 100% of the time. The result? Spontaneous deployment.

    The Physics of the “Pop”

    The Integrated Grip uses a high-tension spring to drive the bipod legs out. That spring is constantly fighting a small mechanical latch. If that latch “bounces” even a fraction of a millimeter during recoil, the legs drop.

    In the IT world, we’d call this a hardware latency issue. In the tactical world, we call it a failure point.

    The Civic Standard “Patch”

    We didn’t want to ship “good enough” hardware. So, we developed The Bench-Tensioning Process. Every single unit in our inventory is now taken to the bench for a manual internal adjustment:

    1. Teardown: We access the internal deployment spring.
    2. Tensioning: We manually increase the seating pressure of the latch spring by 15-20%.
    3. The Audit: We reassemble and subject the grip to a 1lb deadblow “Thump Test.”

    The Result A grip that stays stowed when you’re moving, but drops instantly when you hit the button. By hand-tuning the tension, we’ve significantly increased the “break-away” force required for a accidental deployment.

    You can find generic grips elsewhere, but you won’t find them vetted like this. When you buy from Civic Standard, you’re paying for the labor, the testing, and the peace of mind that your gear has cleared the El Paso bench.

    Shop the Bench-Vetted Integrated Grip Bipod

  • The Bench Standard: Quality Over Commodity

    The Bench Standard: Quality Over Commodity

    When you buy tactical accessories today, you’re usually choosing between two extremes: overpriced “tier-one” gear that costs a car payment, or generic, unvetted imports that feel like they belong on a toy.

    Civic Standard exists in the middle. We founded this brand in El Paso, TX, because we believe that “standard” gear should still be high-quality gear. For us, that starts at the bench.

    The Philosophy of “Bench-Vetted”

    To us, “Bench-Vetted” isn’t a fancy certification—it’s a commitment. It means that before a bipod or a magazine coupler goes into a shipping mailer, it spends time on our workbench. We aren’t a massive warehouse; we’re a small shop that actually handles the hardware.

    We look for the things that mass-production lines miss:

    • Hardware Tolerances: Ensuring screws aren’t stripped and spring tensions are consistent.
    • Surface Prep: Hand-deburring polymer edges so they don’t snag on your gear or your hands.
    • Material Integrity: Verifying the density of the 1000D Nylon and the strength of the polymer T-bars.

    Our Core Mission: Stability and Retention

    While we’re always expanding our catalog, our focus remains on the “workhorses” of your setup:

    • Bipods: A bipod is only as good as its deployment. We cycle every unit to ensure the locking mechanisms are crisp and the panning tension is smooth. Whether you’re on a bench at the range or in the dirt, your platform needs to be rock-solid.
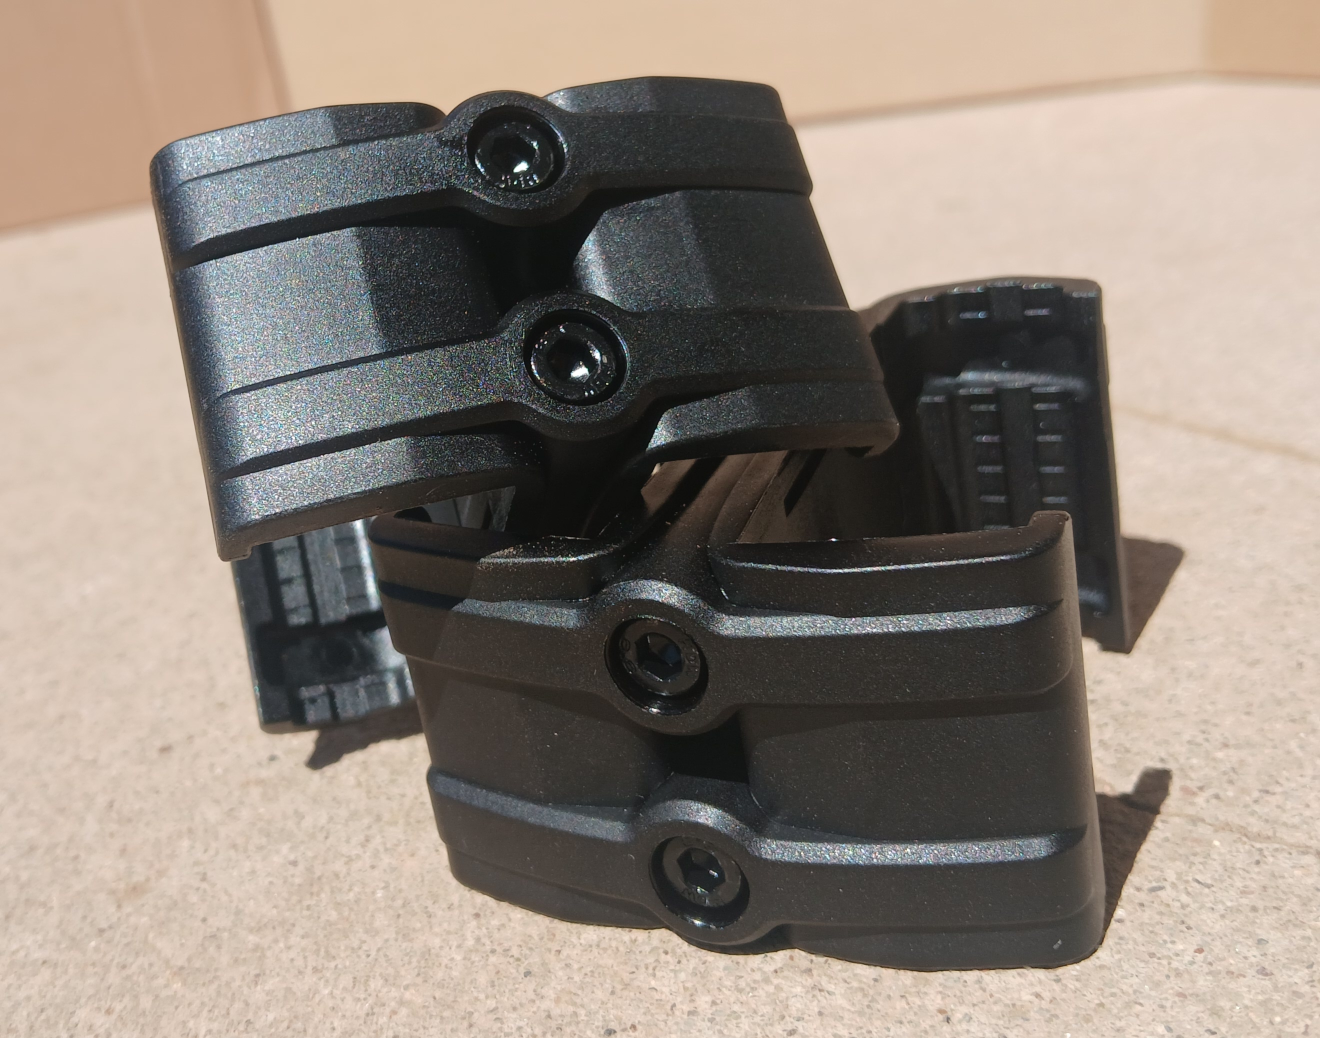
    • Magazine Couplers: Speed is useless if your retention fails. Our couplers are checked for a high-friction fit to ensure your reloads are standardized and your magazines stay exactly where you put them, even under recoil.
    • Gear Management: Our MOLLE Retention Hooks use 1000D Nylon and reinforced polymer T-bars. We chose these materials specifically to protect your expensive bags and vests from the “sawing” effect caused by cheaper, unrefined plastic clips.

    Built for the Modern Marksman

    Civic Standard is about providing reliable, technical solutions for people who actually use their gear. We don’t believe in “tactical fluff.” We believe in hardware that works, prices that make sense, and a standard of quality that only comes from a hands-on approach.

    Every order that leaves our El Paso shop has cleared the bench. That’s the Civic Standard.